JupyterLab
Launch a JupyterLab notebook environment as an interactive SLURM batch job running inside an Apptainer container.
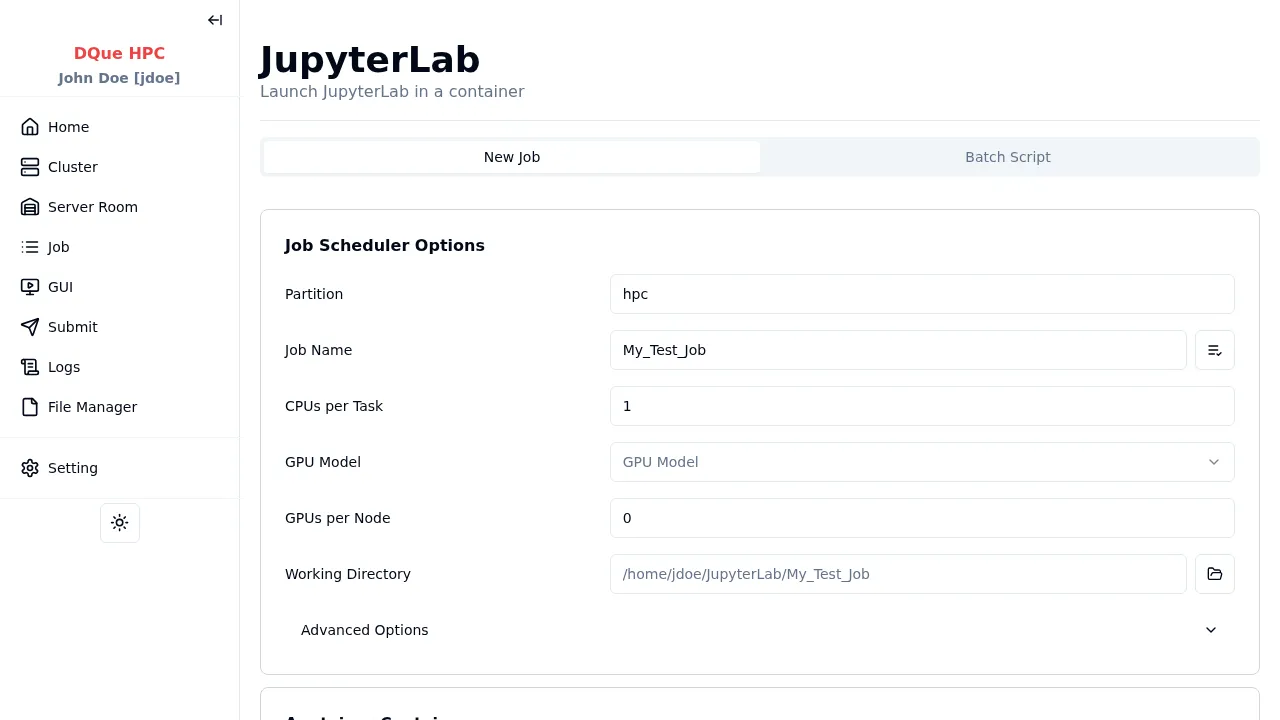
Step 1: Job Scheduler Options
Section titled “Step 1: Job Scheduler Options”Configure the resources for your JupyterLab session:
- Partition — select the partition (e.g.,
hpc). - Job Name — assign a descriptive name (e.g.,
My_Test_Job). - CPUs per Task — specify required CPU cores (e.g.,
1). - GPU Model — select a GPU if needed for GPU-accelerated notebooks.
- GPUs per Node — specify GPU quantity (e.g.,
0or1). - Working Directory — where JupyterLab starts and saves notebooks.
Step 2: Apptainer Container Settings
Section titled “Step 2: Apptainer Container Settings”- Container Path — path to the JupyterLab
.sifcontainer image (required). A dropdown lists containers from admin-configured directories, filtered by prefix (e.g.,jupyter). You can also browse for a custom path. - Environment Variables — add session-specific variables to export inside the container.
Step 3: Submit
Section titled “Step 3: Submit”- Click Submit. A batch job is created that launches JupyterLab on an allocated compute node.
- Monitor the job on the Job Monitor page.
Accessing JupyterLab via Browser
Section titled “Accessing JupyterLab via Browser”- Once the job is running, navigate to the GUI Sessions page.
- Find your JupyterLab session and click Connect to open it in a new browser tab.
- At the JupyterLab login page, click Copy Token from the GUI Sessions page and paste it into the Password or token field. Click Log in.
Once authenticated, you can create notebooks, open terminals, browse files, and run computations — all using the cluster resources you allocated.