General Jobs
The General job submission page enables batch workload processing for arbitrary commands, containerized workloads, or template-based jobs.
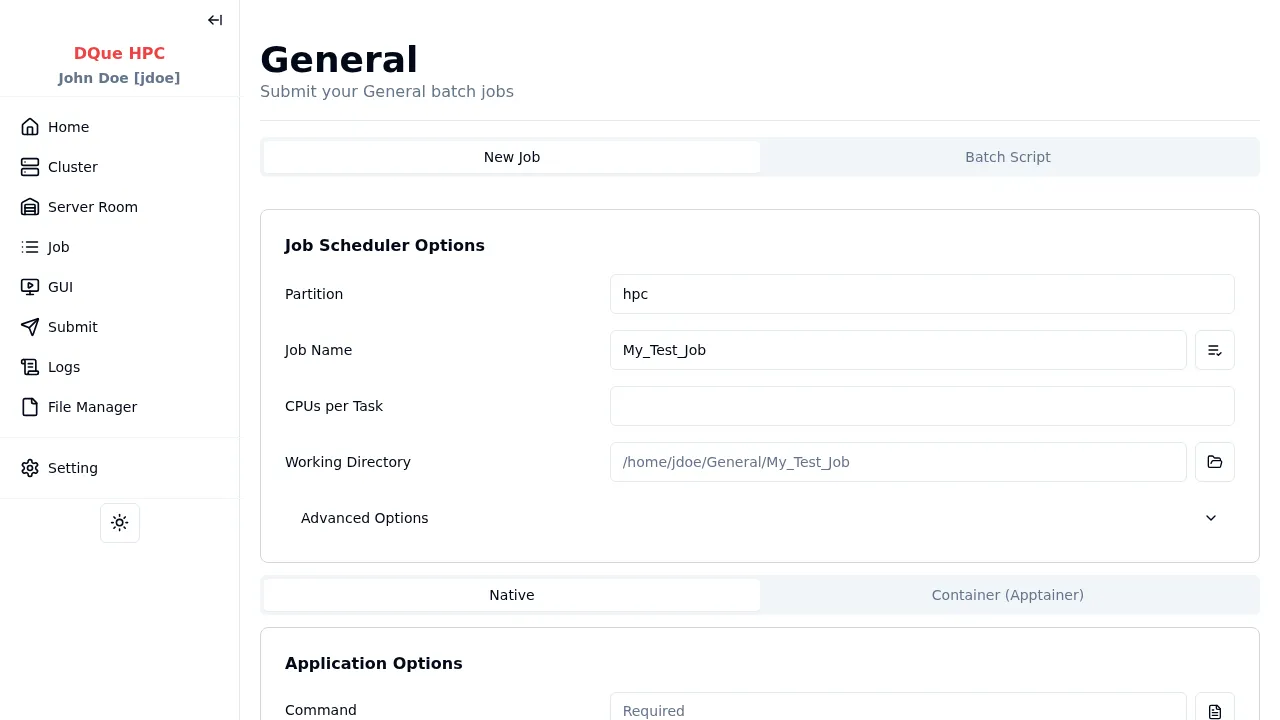
Step 1: Job Scheduler Options
Section titled “Step 1: Job Scheduler Options”Configure the resources required for your job:
- Partition — select the SLURM partition (e.g.,
hpc). - Job Name — assign a name to your job (e.g.,
My_Test_Job). - CPUs per Task — specify the number of CPU cores (e.g.,
2). - Working Directory — auto-derived from your job root. Click the folder icon to open it in File Manager.
Expand Advanced Options for additional fields: Number of Nodes, Memory, Wall Time, etc.
Step 2: Execution Method
Section titled “Step 2: Execution Method”Choose an execution method using the tabs below the scheduler options:
- Command — enter the shell command(s) to execute (required). Click the template button to load a saved command template.
- GUI App — enable to launch a graphical application via VNC instead of a batch job.
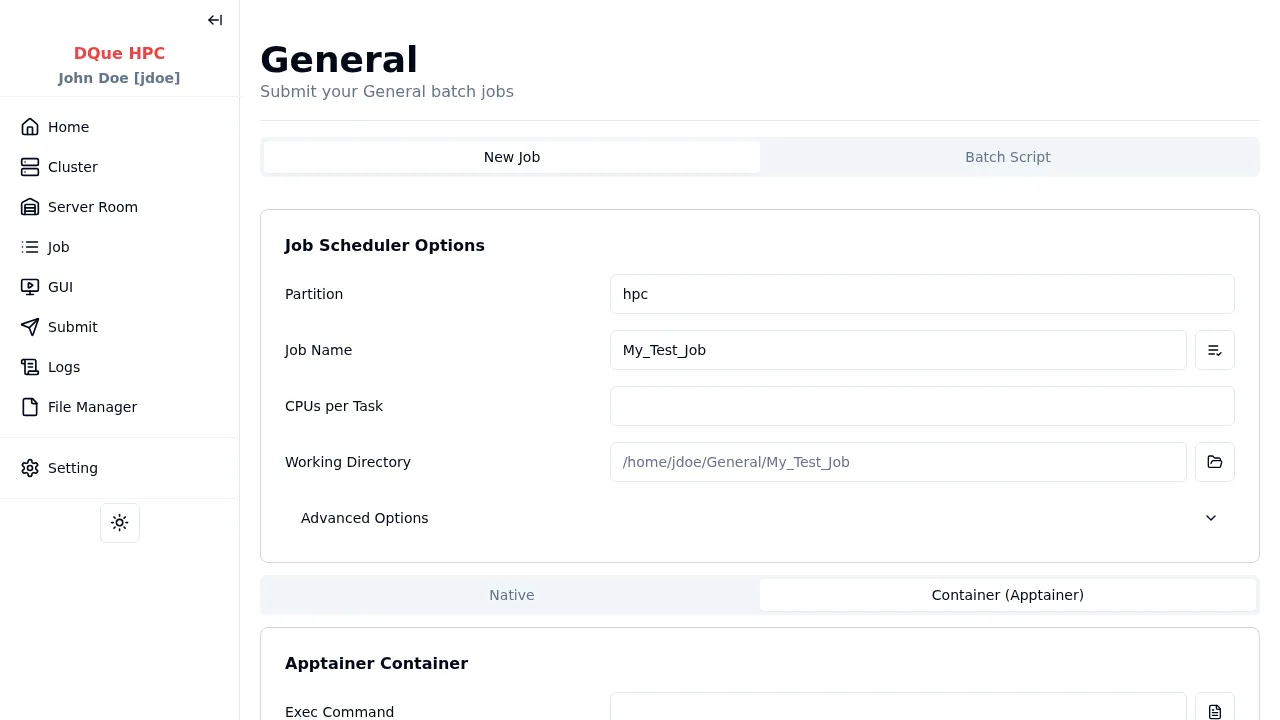
- Container Path — path to an Apptainer/Singularity
.sifimage (required). Use the Select button to browse available containers. - Exec Command — command to run inside the container.
- Environment Variables — key-value pairs exported inside the container. Each variable has an enable/disable toggle.
- Mount Directories — host directories to bind-mount into the container.
- Use srun — enable for multi-node MPI applications.
Step 3: Environment Variables (Native mode)
Section titled “Step 3: Environment Variables (Native mode)”Add key-value pairs to export as environment variables before the command runs. Click Add to add a row, and use the toggle to enable or disable individual variables.
Step 4: Submit
Section titled “Step 4: Submit”- Optionally check Redirect to Job Monitor after submission.
- Click Submit to send the job to the SLURM scheduler.
- Monitor the job on the Job Monitor page or check output on the Job Logs page.