Plugin Guide
This guide walks through creating and configuring DQue plugins. Plugins define HPC application templates that users select when submitting SLURM jobs.
Creating a New Plugin
Section titled “Creating a New Plugin”- Navigate to Admin > Plugins (or Setting > My Plugins for user plugins).
- Click New Plugin.
- Enter a Plugin ID — 1–64 characters, lowercase letters and numbers, hyphens and underscores allowed in the middle.
- Click Create. You are redirected to the plugin editor.
A new plugin starts with a minimal template: disabled, with a single command textarea field and a script that runs $command.
Plugin Editor Tabs
Section titled “Plugin Editor Tabs”The plugin editor has 8 tabs.
Tab 1: Basic Info
Section titled “Tab 1: Basic Info”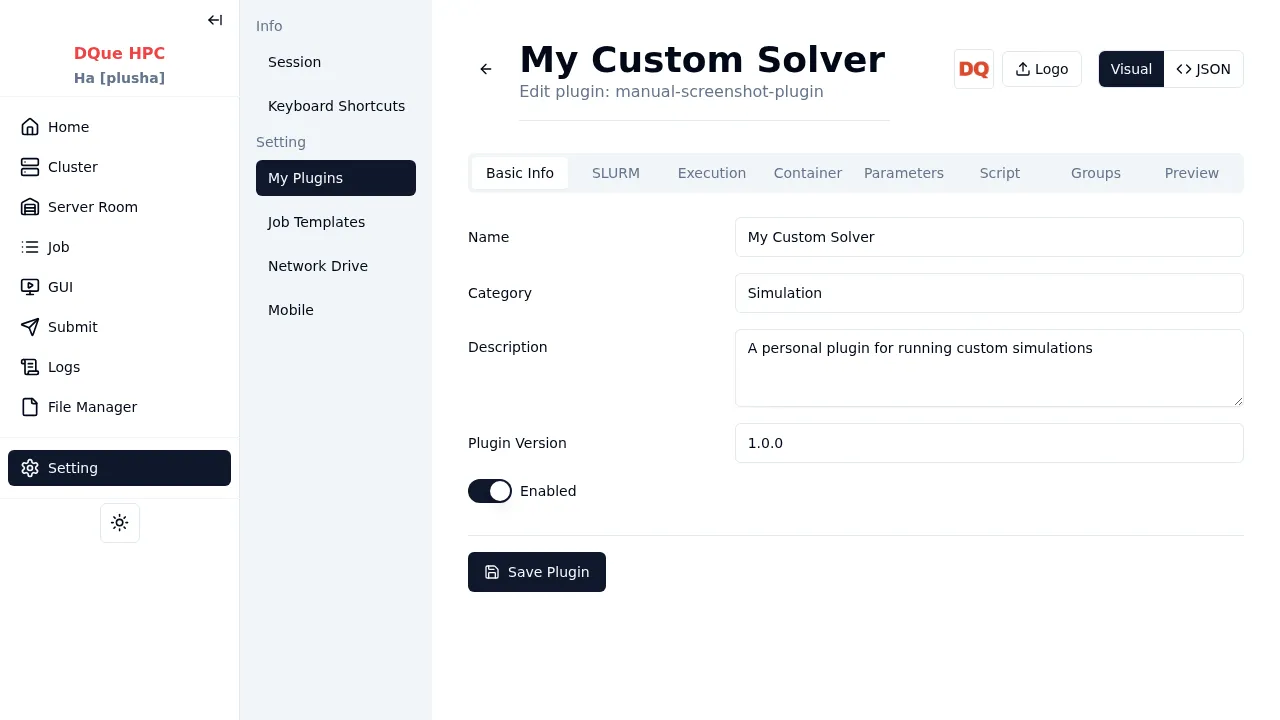
| Field | Description |
|---|---|
| Name | Display name shown to users (e.g., “MATLAB”, “OpenFOAM”) |
| Category | Free-text category for organization (e.g., “Simulation”, “Data Analysis”) |
| Description | Brief description of what the plugin does |
| Plugin Version | Version string for tracking configuration changes |
| Enabled | Toggle — whether users can see and use this plugin |
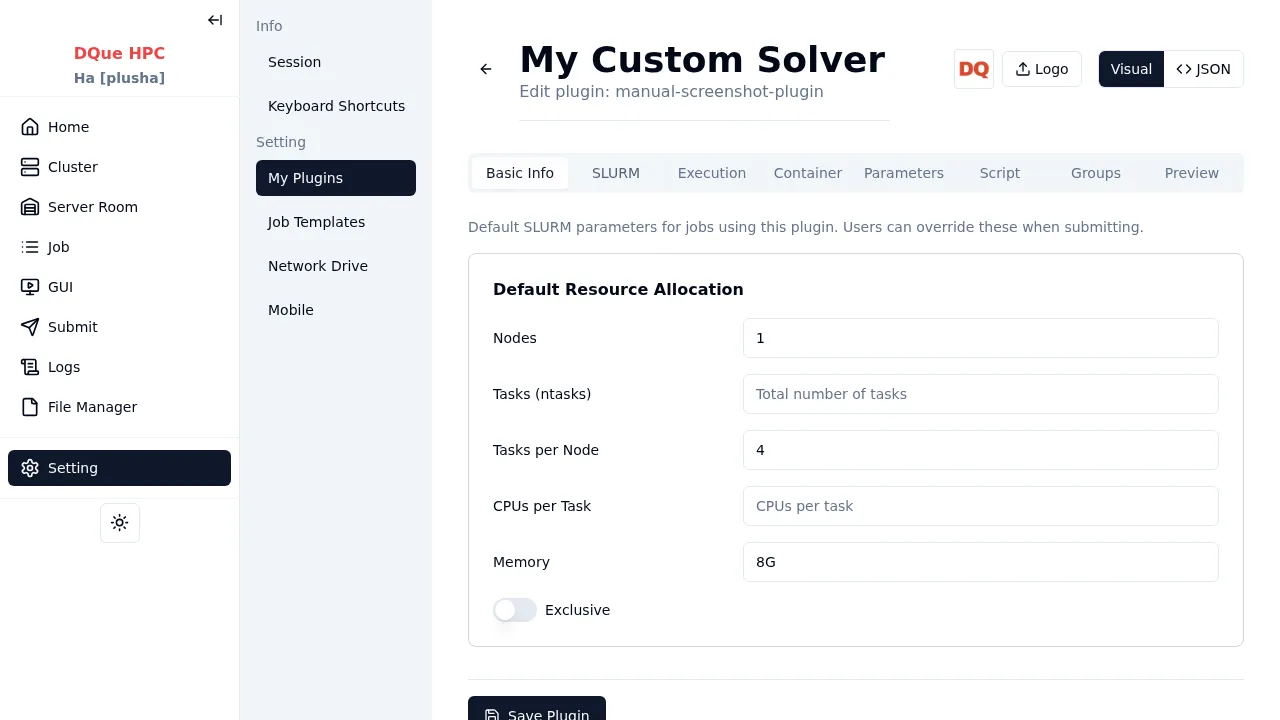
Tab 2: SLURM
Section titled “Tab 2: SLURM”Default SLURM resource allocation that pre-fills the job submission form. Users can override these values.
| Field | Description |
|---|---|
| Nodes | Number of compute nodes |
| Tasks (ntasks) | Total number of parallel tasks |
| Tasks per Node | Tasks distributed per node |
| CPUs per Task | CPU cores per task |
| Memory | Memory per node (e.g., 4G, 2048M) |
| Exclusive | Exclusive access to allocated nodes |
Tab 3: Execution
Section titled “Tab 3: Execution”Controls how the job runs — MPI, GUI support, modules, environment, and processing steps.
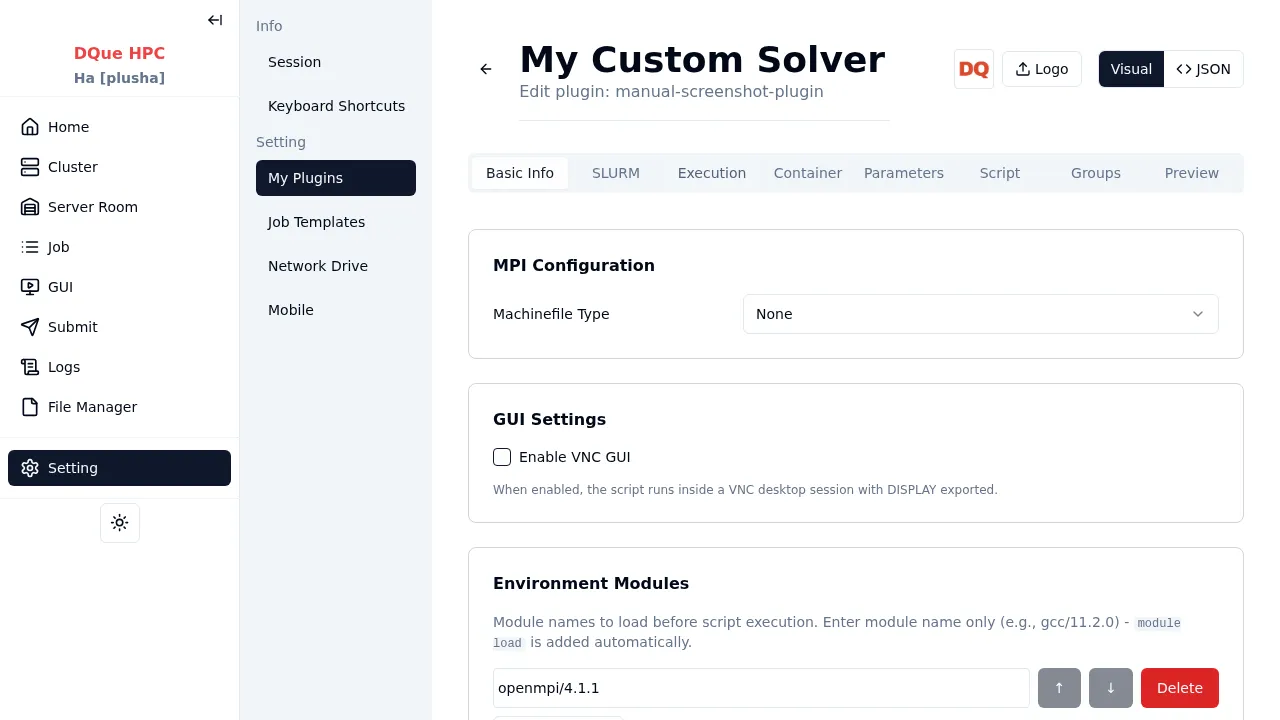
Machinefile Type — format of the MPI machinefile:
| Option | Format | Use Case |
|---|---|---|
| None | No machinefile | Default — SLURM handles task distribution |
| With Slots | node01 slots=4 | OpenMPI |
| With Cores | node01:4 | Intel MPI |
| Without Cores | node01 | Simple hostfile |
GUI Settings:
| Field | Description |
|---|---|
| Enable VNC GUI | Runs the script inside a VNC desktop session with DISPLAY exported |
| GUI Mode | Always (mandatory VNC) or Optional (user chooses via checkbox) |
When GUI Mode is Optional, a built-in gui boolean variable becomes available for use in showIf/requiredIf conditions and the script.
Environment Modules — module names loaded before the script executes (e.g., gcc/11.2.0).
Environment Variables — admin-defined key-value pairs exported before script execution. The option Allow users to add environment variables at submit time adds a user-facing section on the form.
Preprocess / Postprocess — commands that run before/after the main script. Each step has a name, command, and enabled toggle. Users can toggle or edit these on the submit form.
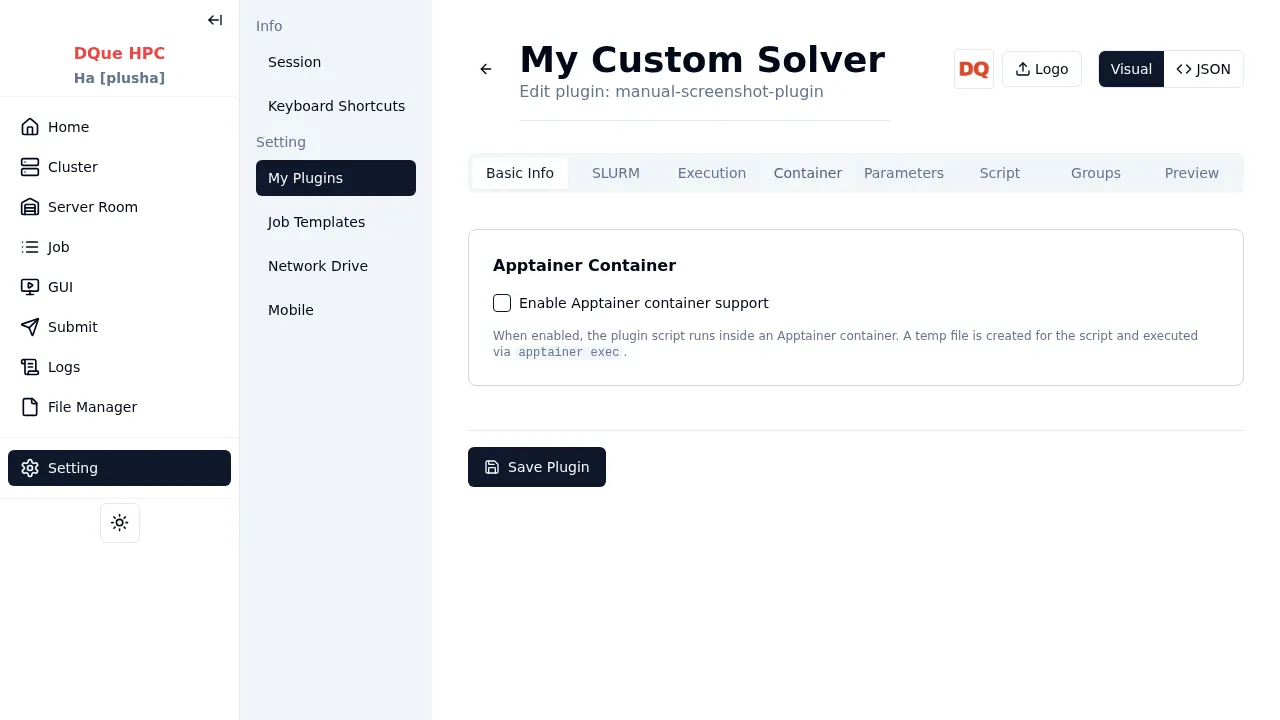
Tab 4: Container
Section titled “Tab 4: Container”Apptainer (Singularity) container support.
| Field | Description |
|---|---|
| Enable Apptainer container support | Master toggle |
| Container Mode | Optional (Native/Apptainer tabs) or Mandatory (always container) |
| Container Directories | Paths scanned for .sif files |
| Default Container Filters | Substring filters to auto-select a container |
| Show mount paths | Users can configure mount paths |
| Show environment variables | Users can configure container env vars |
| Default Command | Pre-fills the command input on the Apptainer tab |
Tab 5: Parameters
Section titled “Tab 5: Parameters”Define form fields that users fill out when submitting a job. Each parameter becomes a shell variable in the script.
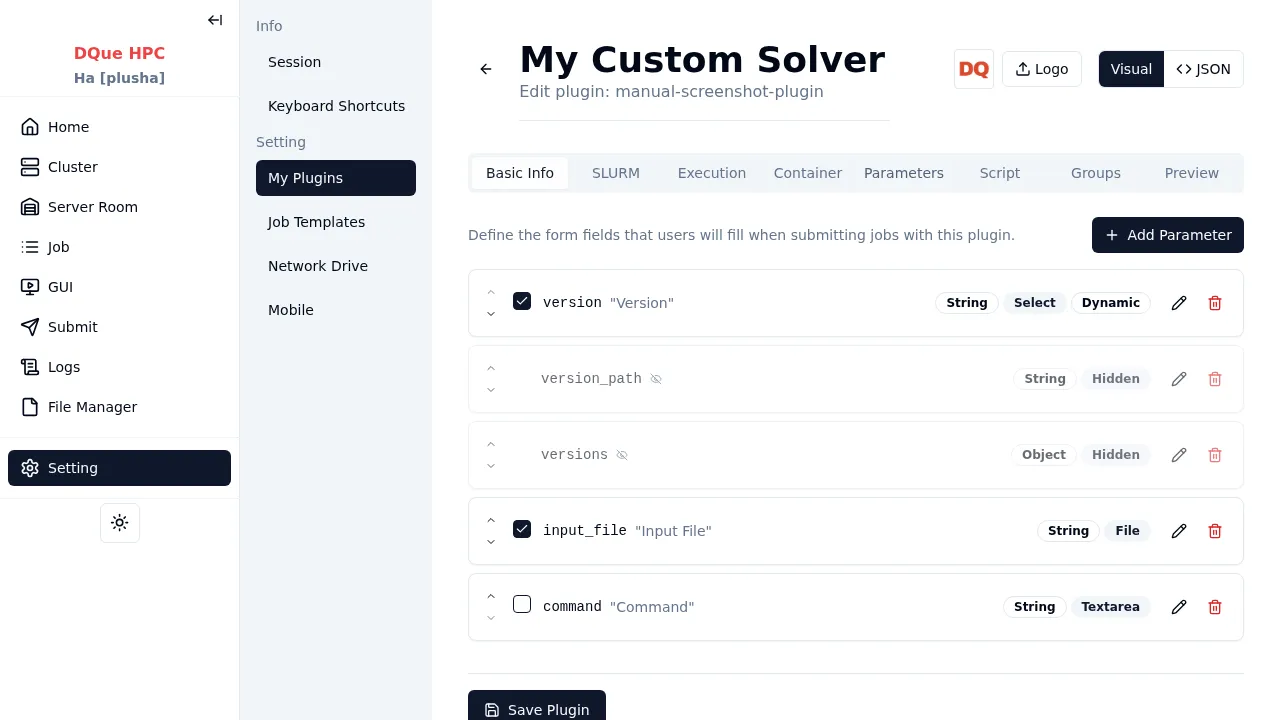
Parameter properties:
| Property | Description |
|---|---|
| Key | Variable name used in the script (valid shell identifier) |
| Type | string, integer, number, boolean, object, array |
| Title | Label displayed on the form |
| Description | Help text below the field |
| Default | Pre-filled value |
| Required | Whether the field must be filled |
Widget types: text, number, textarea, select, radio, switch, checkbox, file, directory, hidden.
Advanced options: showIf (conditional visibility), requiredIf (conditional requirement), extensions (file type filter), enumLabels (display labels for enum values), presetOptions (predefined file choices), enableTemplate (template selection for textarea).
Version Selection Pattern — click Add Version Fields to auto-generate three fields: a hidden versions object (map of version names to paths), a version dropdown populated from it, and a hidden version_path auto-filled with the selected path. Use $version_path in the script.
Tab 6: Script
Section titled “Tab 6: Script”The bash script template executed by SLURM.
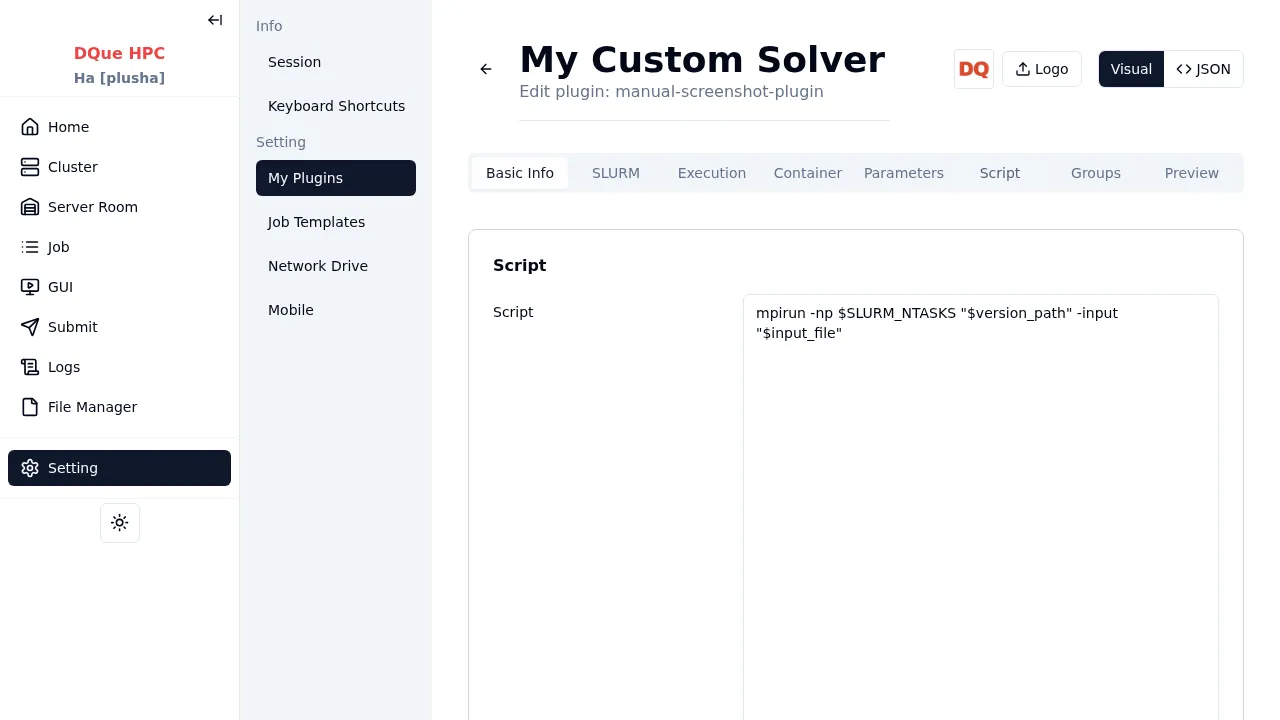
Available variables:
- Form parameters:
$param_namefor each parameter - SLURM variables:
$SLURM_JOB_ID,$SLURM_NTASKS, etc. - Platform constants:
$DQUE_USER_HOME,$DQUE_ROOT,$DQUE_JOB_ROOT,$DQUE_USER_JOB_ROOT,$DQUE_USERID
Tab 7: Groups
Section titled “Tab 7: Groups”Organize form fields into labeled sections on the submit form.
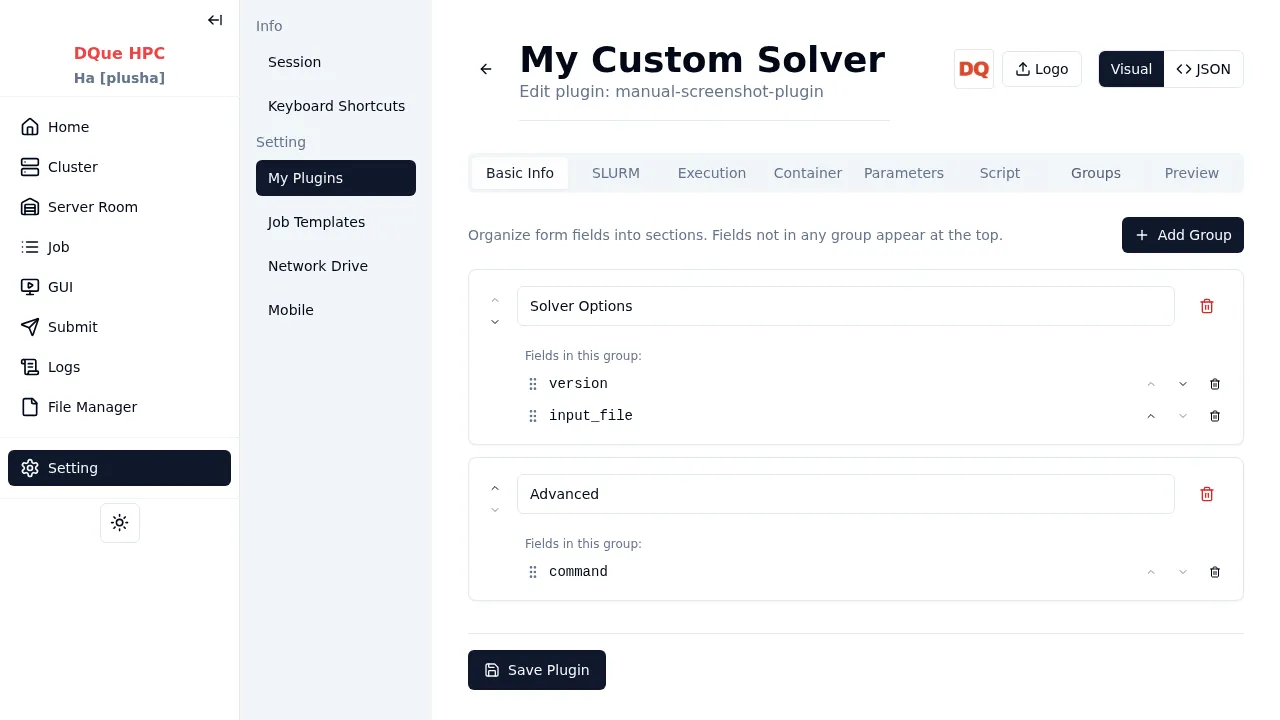
- When groups are defined, all non-hidden parameters must be assigned to a group.
- Hidden parameters should not be added to groups.
- If no groups are defined, all fields appear in a flat list.
Tab 8: Preview
Section titled “Tab 8: Preview”Live preview of the plugin as users will see it.
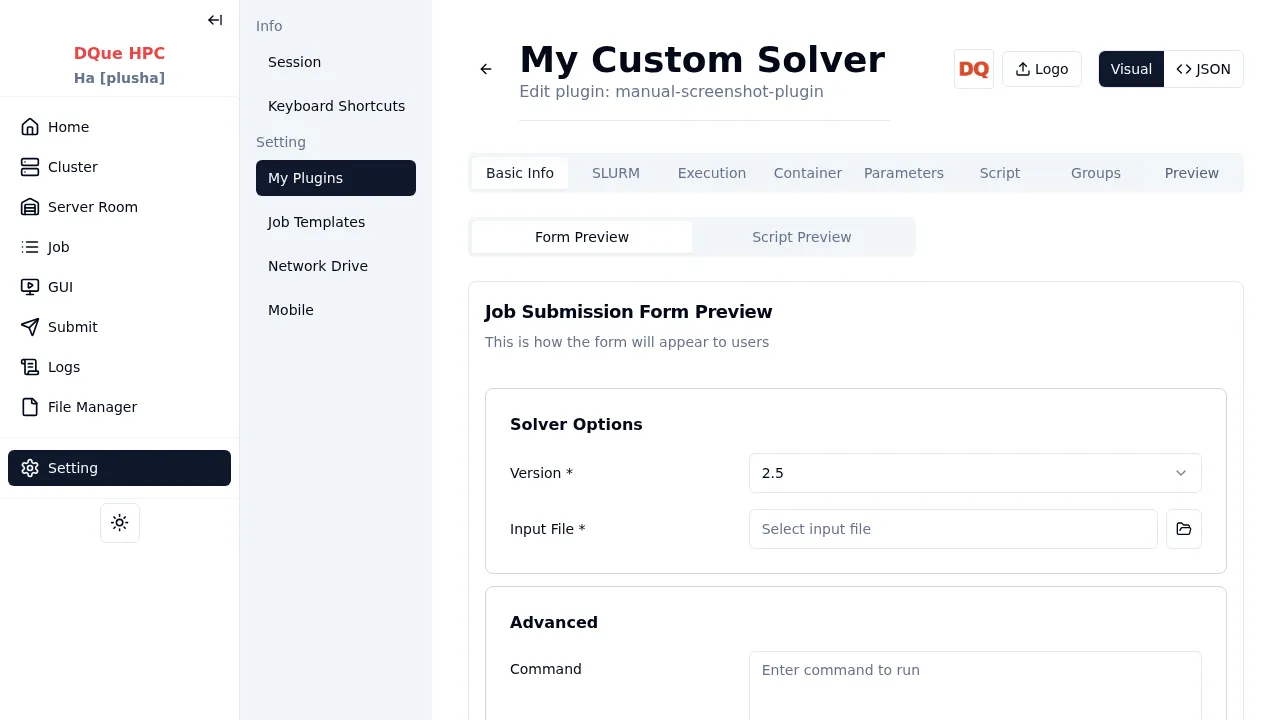
- Form Preview — rendered form with working field visibility and validation.
- Script Preview — generated SLURM batch script with current form values substituted.
Adding a Logo
Section titled “Adding a Logo”On the plugin editor page, click the Upload button to add a logo image. Supported formats: PNG, JPEG, WebP. Maximum size: 2 MB. Use a square image with a transparent background for best results.
Visual Editor vs JSON Editor
Section titled “Visual Editor vs JSON Editor”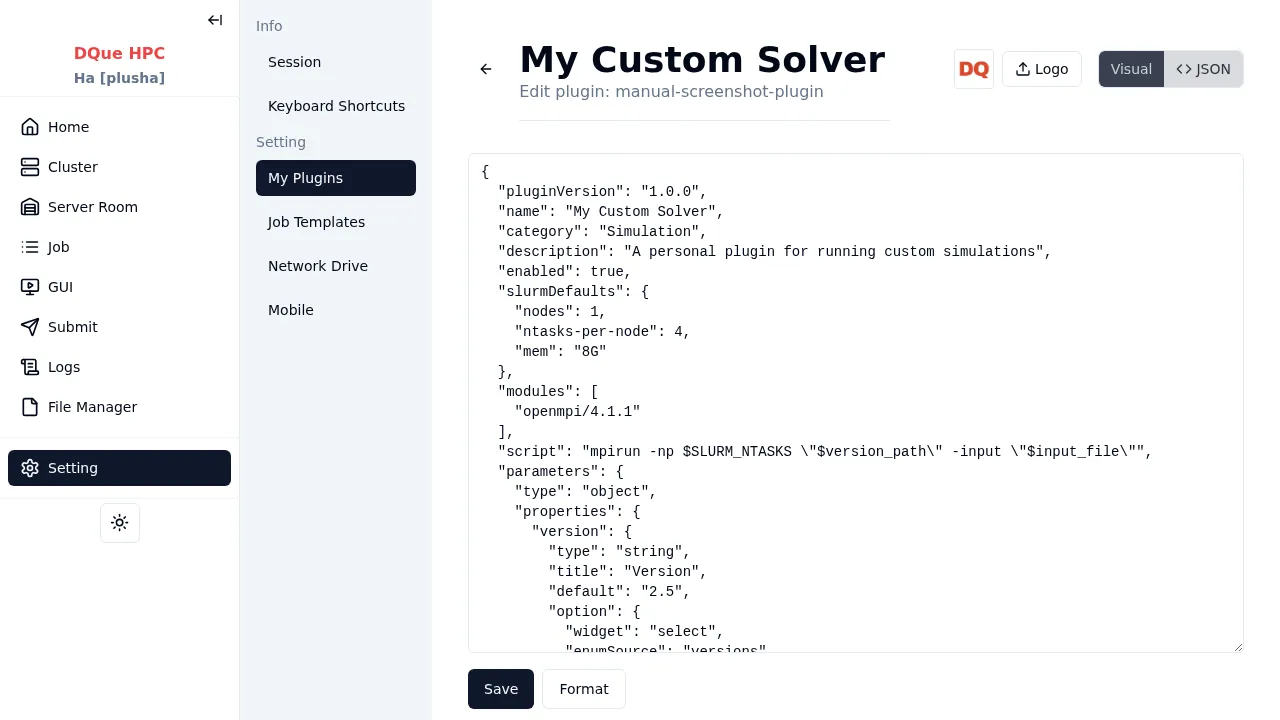
| Mode | Description |
|---|---|
| Visual Editor | The tabbed form-based editor described above |
| JSON Editor | Raw JSON text area showing the full plugin configuration |
Toggle between modes using the button at the top of the page. Both modes validate the schema before saving. For the complete JSON reference, see the Plugin JSON Reference.
Resetting and Deleting Plugins
Section titled “Resetting and Deleting Plugins”- Reset to Default — for built-in plugins, click Reset to Default to revert all customizations to the original configuration.
- Delete — only user-created plugins can be deleted. Built-in plugins can only be disabled.
For step-by-step examples, see Plugin Examples.